A compact pasta machine can occupy a modest footprint while still needing a measured delivery route, stable placement, verified electrical supply, working clearance, product-handling space, and a documented handover. An installation checklist connects the ordered configuration to the real workshop so the buyer can resolve site questions before delivery.
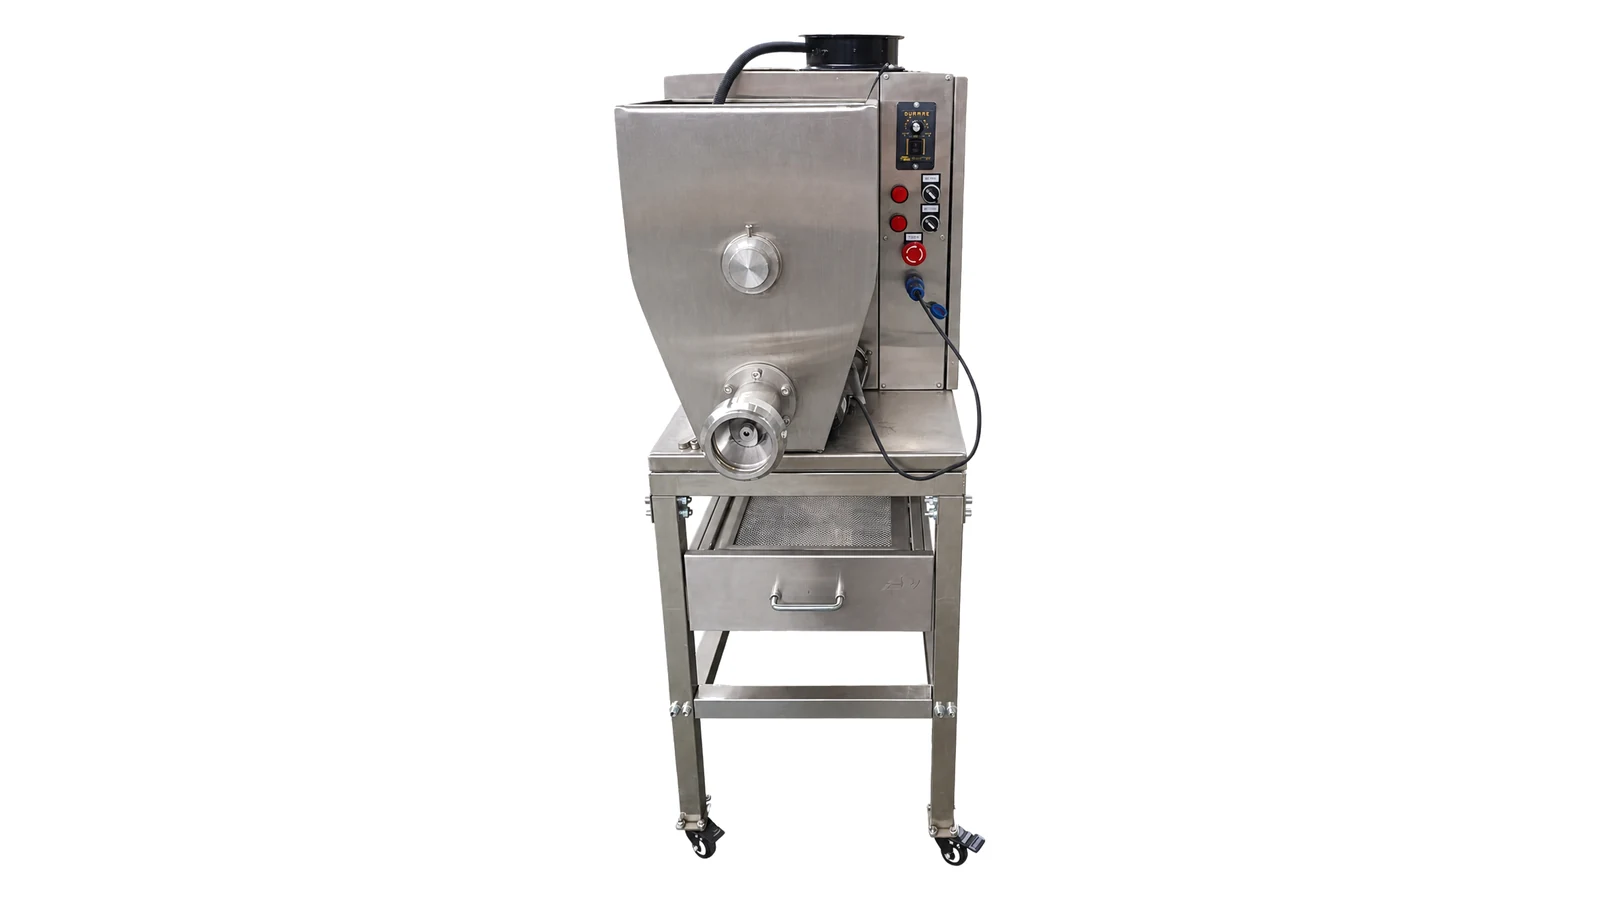
Zhuoheng has confirmed 15 and 40 kg/h compact pasta machine configurations. The 15 kg/h pasta machine is the product reference for this checklist, but exact dimensions, power, weight, connections, accessories, and output remain configuration-specific. Final values need to come from the approved order documents and nameplate for the machine being supplied.
Match the Checklist to the Ordered Configuration
Start with the signed model or configuration, included molds, cutter or forming accessories, control arrangement, support frame or cabinet, and any downstream items. Give every item a tag that matches the packing list and layout. A general photo can help orientation, but the approved drawing controls the installation review.
Record the planned product route as fresh/direct use, fresh product with short downstream handling, or a route that includes separate drying and packing. The route changes the surrounding workspace even when the extruder itself is unchanged. The fresh pasta batch-planning guide can help define containers, batch movement, and operator timing around the machine.
Measure the Complete Delivery Route
Survey the route from the unloading point to the final position. Record gate, doorway, corridor, lift, and stair dimensions; floor level changes; tight turns; overhead restrictions; and the available unloading area. Compare the narrowest point with the shipping package and any approved module dimensions, not only with the machine's operating footprint.
Photograph each constraint and mark it on a simple route sketch. Include the floor surface and any threshold that affects a pallet truck, trolley, forklift, or other chosen handling method. The buyer and supplier should also agree who provides unloading, internal movement, lifting equipment, unpacking, and removal of packing materials.
If a doorway or turn is marginal, resolve the method before shipment. Any temporary removal, partial disassembly, or lifting point needs supplier confirmation tied to the exact configuration.
Reserve Placement and Working Clearance
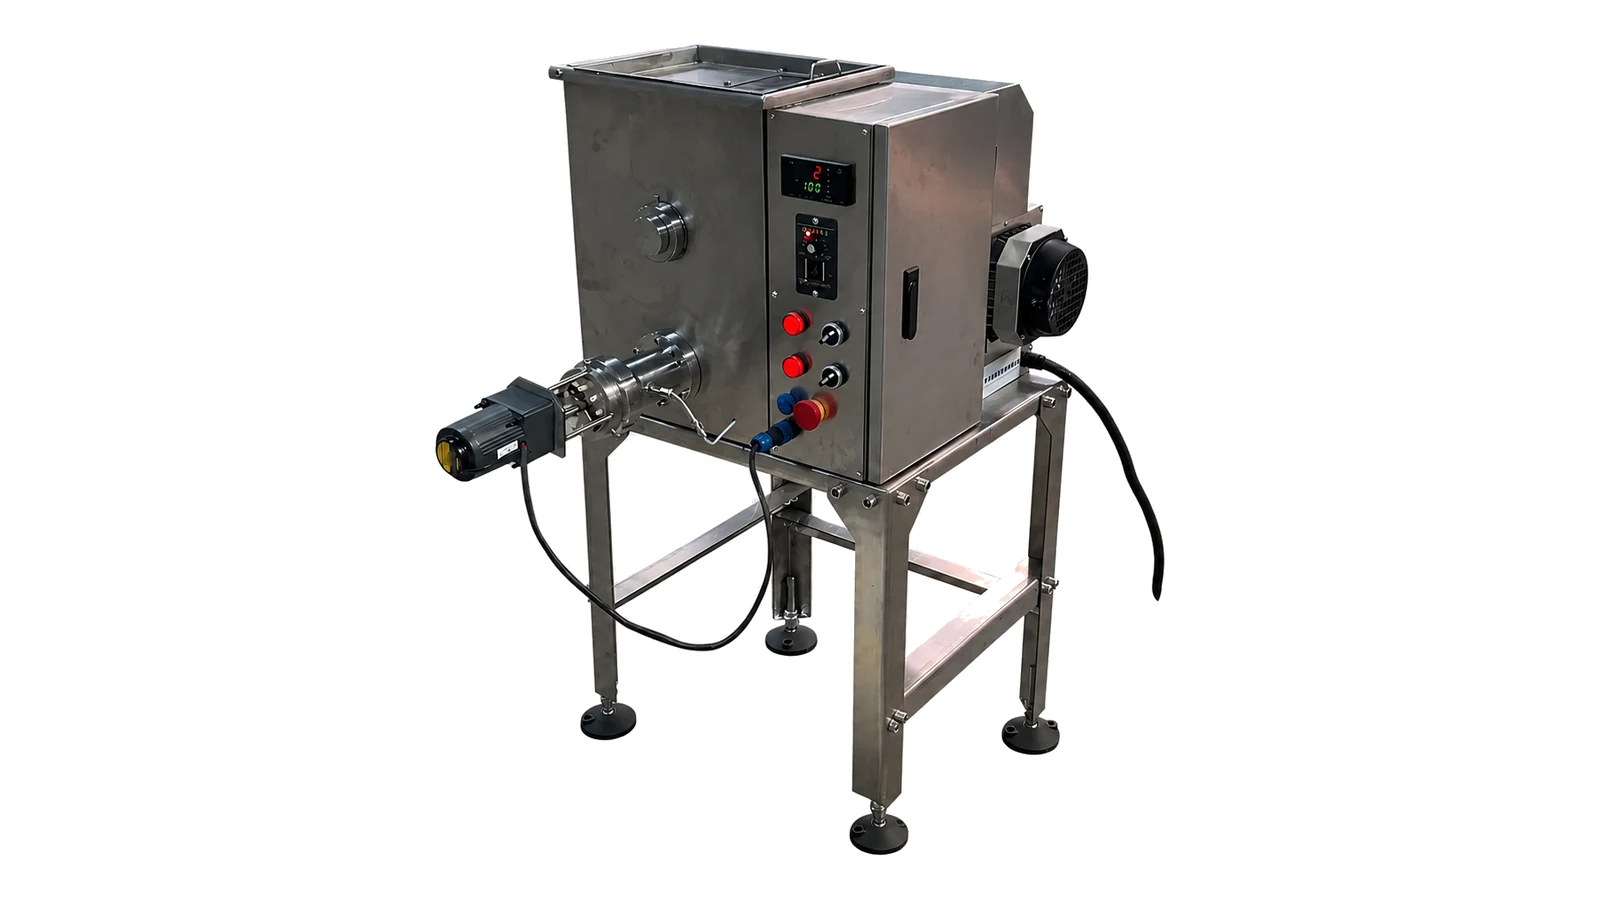
Mark the machine outline on the floor and add the spaces used for ingredient loading, mold or die access, cutter access, controls, product collection, cleaning, service, and emergency movement. Identify the side used for each activity. A wall clearance that looks generous on a small plan may still block a cover, motor, cable, or removable component.
Keep raw-material containers and finished-product trays in the same drawing. Show the operator's normal movement between mixing, loading, extrusion, collection, and the next process step. Preserve local exits, safety routes, and building requirements through the site's qualified review.
The floor needs to be level, stable, and suitable for the supplied machine and operating method. Final anchoring, leveling, and structural decisions follow the approved supplier information and responsible site professionals.
Confirm Electrical and Other Site Interfaces
Record the site's voltage, phase, and frequency and compare them with the approved order confirmation before connection. Add the proposed outlet or isolator location, cable route, protective device, and local electrician responsible for the work. Exact current, power, plug, cable, and protection requirements must match the supplied configuration and local rules.
List any other interface shown in the approved documents, such as water, drainage, compressed air, ventilation, or downstream equipment connections. A compact machine should not be assumed to need or omit a service based on a generic product label. The selected accessories and process route control the final schedule.
Record ambient and cleaning conditions that may affect placement. Keep electrical equipment and connections within the limits stated by the manufacturer and the site's approved procedures.
Prepare the Workshop Around the Product Flow
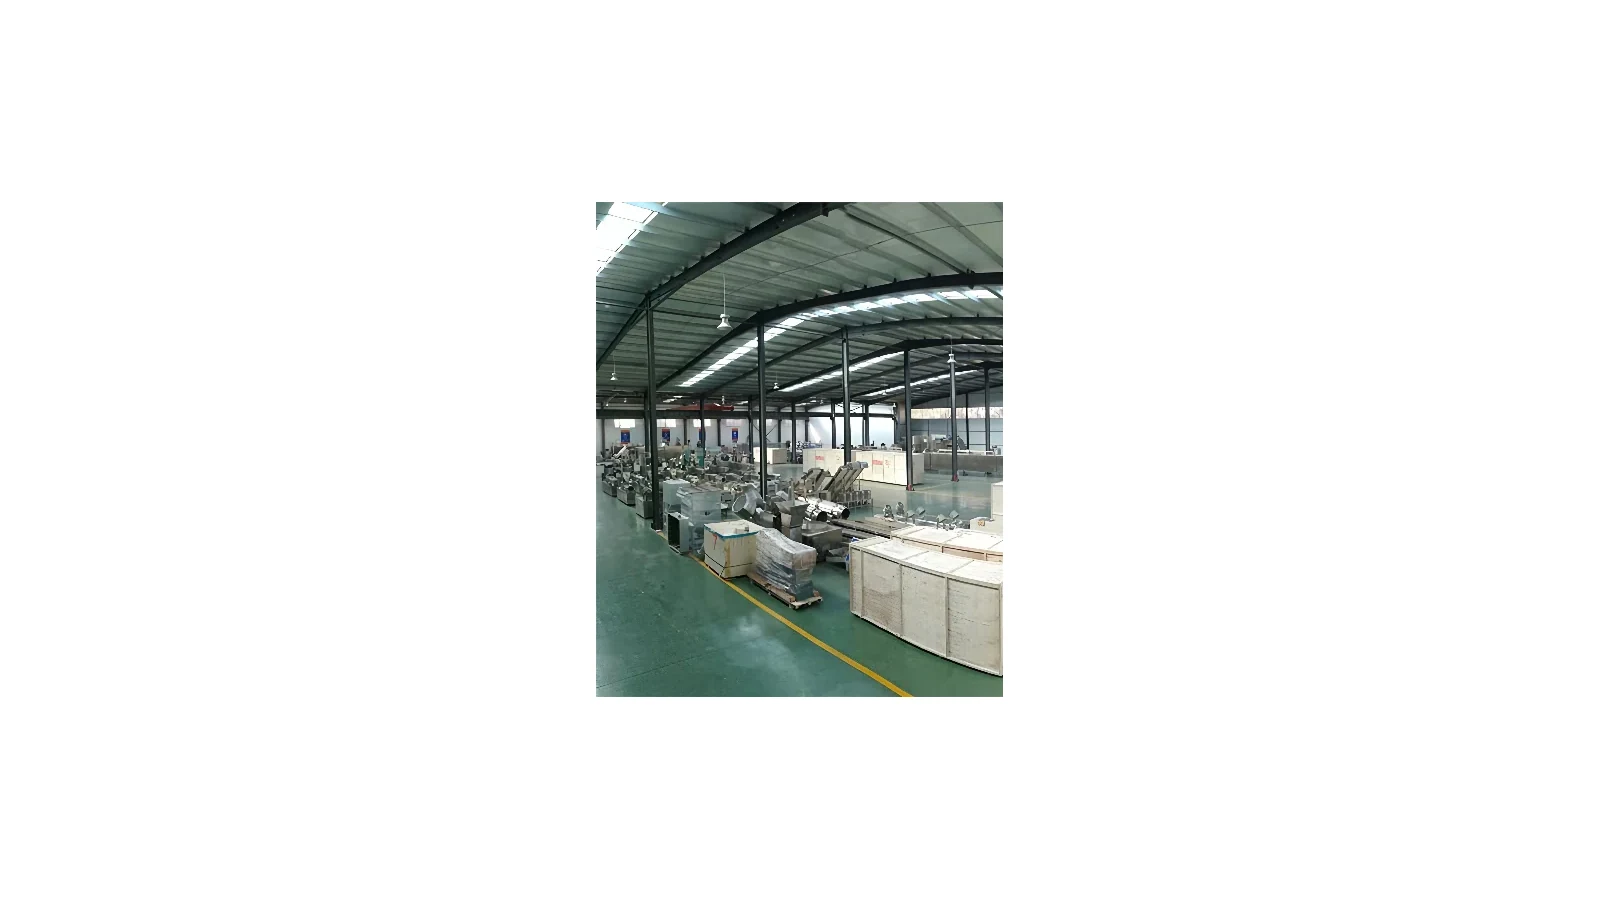
Define where ingredients are weighed or mixed, where prepared dough or material waits, where the operator loads the machine, and where newly formed pasta is collected. Add space for molds, tools, trays, batch labels, cleaning items, and temporary product hold. Separate open product from incoming packaging and general workshop traffic according to the buyer's approved food-handling plan.
Use the expected batch size and operating schedule to estimate the number of containers and trays present at one time. That exercise often reveals congestion that the machine footprint alone misses. The layout can then be adjusted before utilities are fixed.
If the product will be dried, show the transfer to the separate dryer and the location of racks, trays, or conveyors included in the project. If the product will be used or packed fresh, identify the immediate handling and packing boundary. Product safety and shelf-life decisions require the buyer's qualified process and regulatory review.
Use an Installation-Day Record
Create a checklist with item, expected condition, observed condition, evidence, owner, and closeout date. Suggested groups include:
- shipping package and item identity;
- visible transport condition;
- supplied accessories and molds;
- machine position and level;
- control and service clearance;
- electrical nameplate and approved supply match;
- guards, covers, fasteners, and emergency controls;
- utility connections included in the order;
- supplier-authorized startup checks;
- manuals, drawings, parts lists, and training records.
Photograph the nameplate, final placement, connection area, control side, product outlet, and supplied accessories. Keep serial or order identity in the same record. Any shortage, damage, or mismatch needs an owner and resolution before final acceptance.
Startup and rotation checks should follow the supplier's procedure and be performed by authorized personnel. This checklist supports the handover record; it does not replace the equipment manual or local electrical and safety requirements.
Tie Acceptance to a Representative Sample Run
Agree on the formula status, mold, target shape, batch quantity, operator roles, and observations before the sample run. Record ingredient batch, mixing notes, machine setup, startup material, stable samples, visible shape condition, handling after extrusion, and any setting changes approved during the run.
Acceptance should distinguish installation condition from product approval. The machine may be correctly positioned and connected while a formula, mold, drying route, or operator method still needs development. Keep those open items separate so the handover record remains precise.
Record training topics and the people who attended. Include normal startup and shutdown, mold handling, basic inspection, cleaning access, and the route for technical questions. Final operating and maintenance steps stay tied to the supplied manual and configuration.
Related Planning Guides
- Confirm the configuration with the 15 kg/h versus 40 kg/h compact pasta machine guide.
- Protect service space with the compact pasta extruder cleaning-access review.
- Prepare the commissioning sample with the compact pasta formula trial checklist.
Prepare the Installation Review
Send the selected 15 or 40 kg/h configuration, product route, workshop plan, delivery measurements, electrical supply, planned molds, demand and destination for an installation-readiness review.